
Hello everyone, welcome to the FluxCore installation guide for Windows. This guide will walk you through the process of installing FluxCore on your Windows-based machine. The officially recommended Windows versions are Windows 10, 11, and newer. While versions lower than Windows 10 may work, we haven’t officially tested them and issues may arise. If you encounter any problems, please use the following link to submit a bug report to our support team.
We officially recommend installing the following graphic cards on your Windows OS:
- NVIDIA: Version 545
- AMD: Version 23
Choosing a different driver version should be done at your own discretion and may result in potential issues with certain FluxCore services, such as benchmarking or mining.
Let’s get started!
- Download FluxCore
- To install FluxCore on Windows, visit this link.
Note: During the Beta phase, as FluxCore lacks an official license, the download may be flagged by Windows Defender. Follow the steps below to address this issue.

2. Addressing Download Issues:
- Open Windows Defender.

- Select “Virus & Threat Protection” from the left-hand menu.

- Select “Protection History.”

- Click on “Threat Blocked” and allow the app to make changes to your device.

- Click on “Actions,” then select “Allow” to authorize the app to make changes.
- Re-download the FluxCore client if necessary.
3. Initiate FluxCore Installation
- Begin the installation of the application.
- If a “Windows protected your PC” pop-up appears, click “More info” and then select “Run anyway” to authorize the app.


4. Open FluxCore
- The FluxCore client should automatically open a browser window with the URL. If not, right-click on the FluxCore Icon in the Windows taskbar and select “Open FluxCore.”
5. Download the Machine ID and Password during the initial installation
- During Step Two of the installation process, titled “Register Machine,” you will be prompted to download a file that includes your Machine ID and Password. Kindly proceed with the download, as you may require these values later to establish a connection with another FluxCore GUI for remote control purposes.

6. Dependency Installation
- A small box at the bottom right of the client will indicate the installation of dependencies. This may take some time as FluxCore installs dependencies like TensorFlow, CUDA, and WSL for proper functionality.
Essential Tips
If you encounter issues with your FluxCore client, consider the following:
If you experience issues with your FluxCore client running on FluxCore or can not get it running to begin with, we hope this section will be of help for you. There could be two main reasons why you are having Issues with FluxCore on your machine. If both of them do not solve the issue please open a ticket via our support desk
- Virtualization Not Enabled
- Check if virtualization is enabled on your BIOS.
- Press Ctrl + ALT + ESC to open Task Manager, go to the Performance tab, and check if Virtualization is enabled.

- If disabled, follow the provided steps to enable it.
Note that the steps below are based on a Windows 11 machine; your system may have different steps. If needed, refer to online resources on how to access the BIOS on your specific system and enable Virtualization.
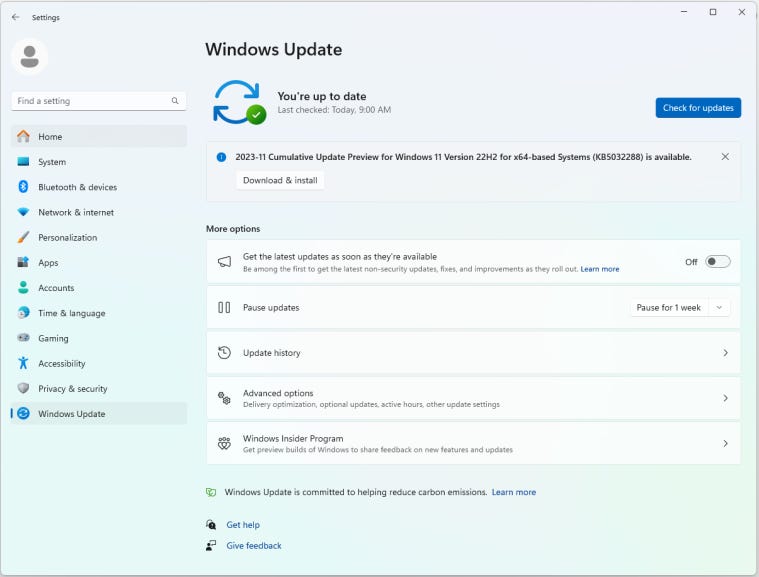
- Go to Settings.

- Access “Windows Update”.
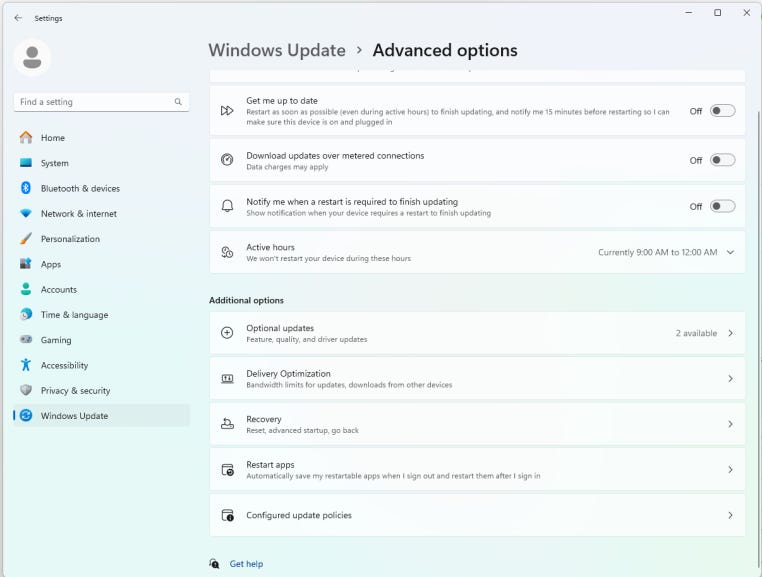
- Click on “Advanced Options,” then navigate to “Recovery.”
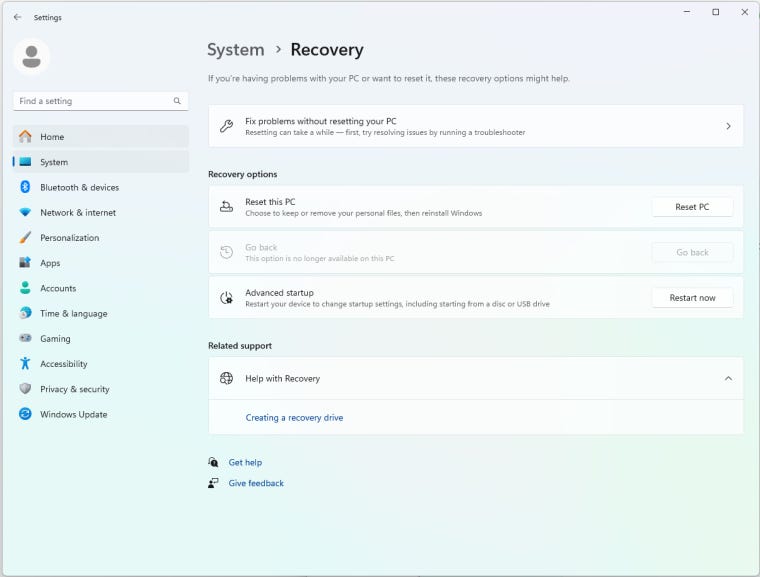
- Choose “Advanced Startup.” This will initiate a restart of your computer, allowing you to access the BIOS settings.
Note that the following instructions assume that the screens are in German. Please choose the English terms or adjust according to your language settings.
- Access “Troubleshooting”.
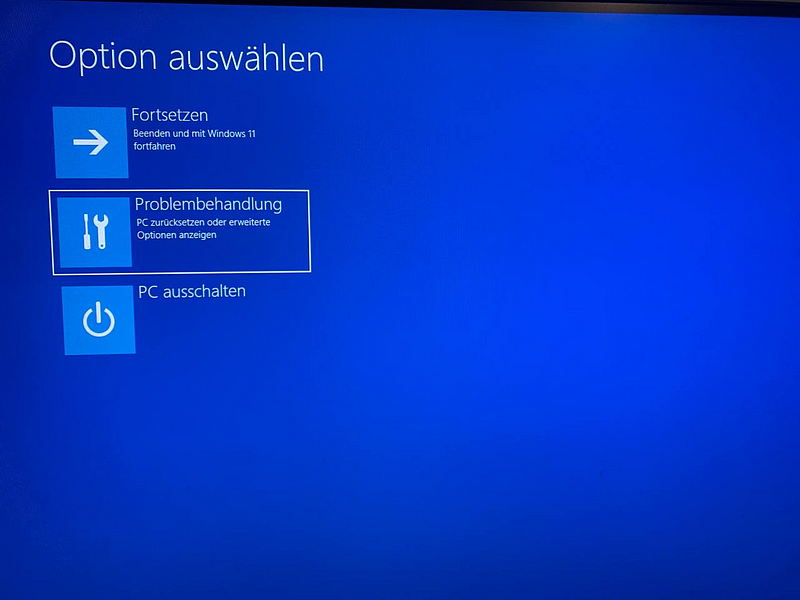
- Click on “Advanced Options”.


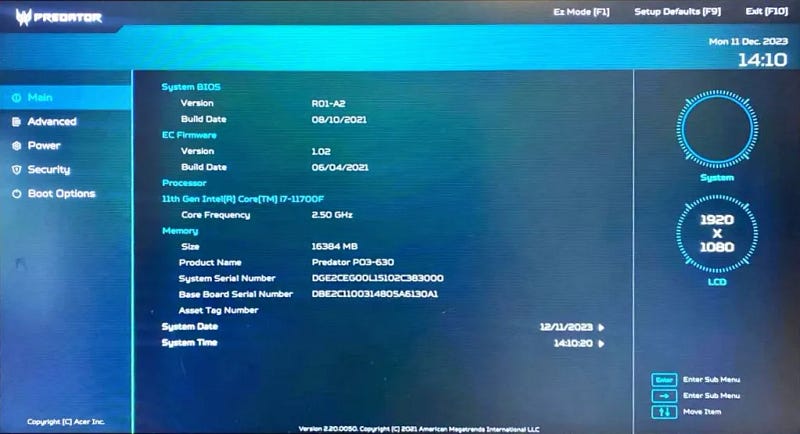
- Select “UEFI Firmware Settings.” This action will initiate another restart of your machine. Once restarted, you will encounter a new screen similar to this:
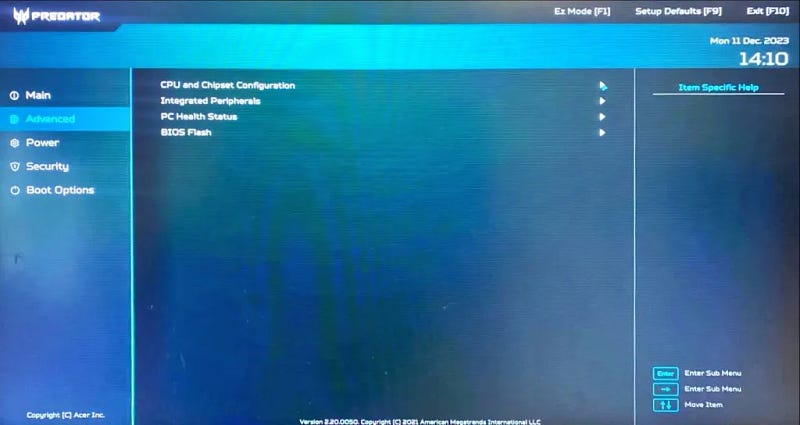
- Click on “Advanced” and then navigate to “CPU and Chipset Configuration.”
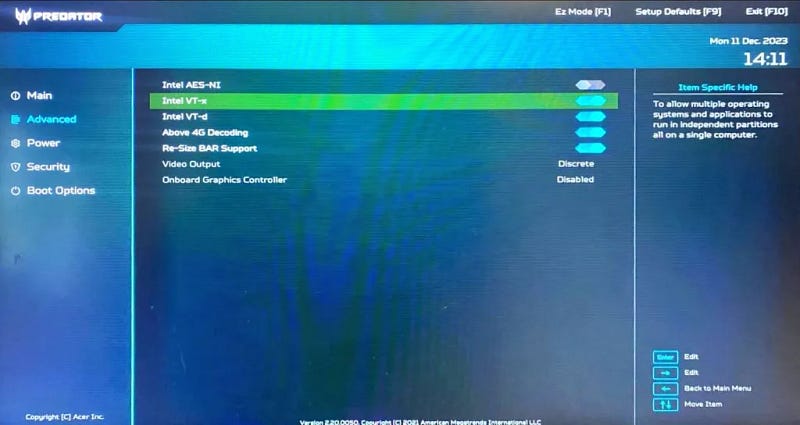
- Ensure that both Intel VT-x and Intel VT-d are enabled.
- Click or initiate an exit, ensuring that configurations are saved. This will shut down your machine.
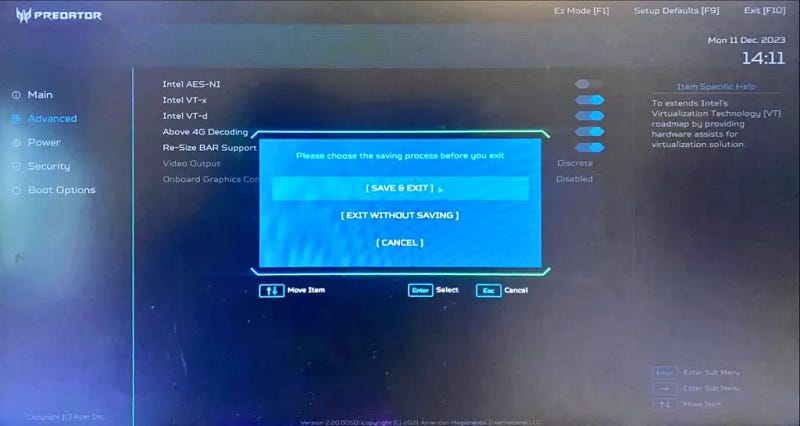
- Start your machine manually, and it will start normally with the new BIOS settings saved.
2. Troubleshooting WSL for FluxCore:
- For FluxCore to function, WSL needs to run on your machine.
- Windows Subsystem for Linux (WSL) is a feature of Windows that allows you to run a Linux environment on your Windows machine, without the need for a separate virtual machine or dual booting.
- Verify if WSL is activated on your machine. This is typically done automatically during the FluxCore installation.
- To check, enter “Windows Feature” in your search bar and click on the search result.

- Scroll down the list and ensure that the box next to “Windows Subsystem for Linux” is checked. If not, please check it and click “OK.”
- If you are still experiencing issues, proceed to install WSL manually on your machine.
- Open your Windows PowerShell.
- Enter the command: `wsl — install`

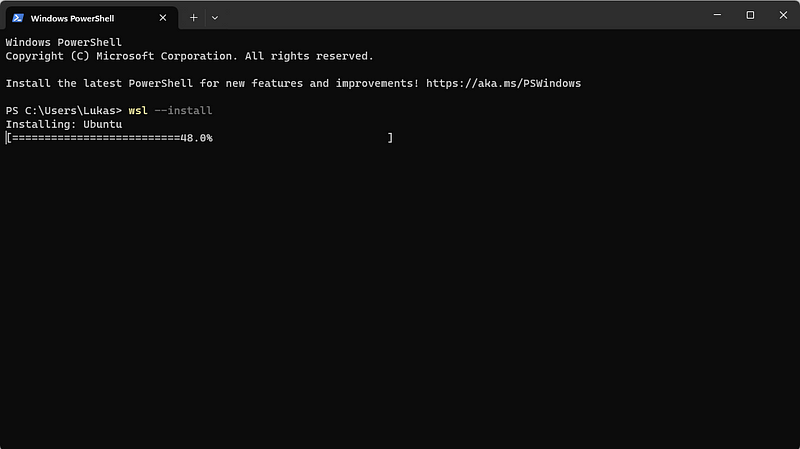
- This process will install the latest Ubuntu version on your local machine.
- Please enter a username and password.
