Want to host your own Minecraft Vanilla server on FluxCloud? Follow this quick and easy guide to get your game up and running on FluxCloud’s decentralized infrastructure.

Step 1: Visit FluxCloud
Start by heading over to FluxCloud. Here, you can create your game server environment.
Step 2: Sign In or Create a New Account
If you’re new to FluxCloud, simply create an account, or log in if you already have one. For added security and ease, you can use Zelcore for signing in.
Step 3: Access the Game Marketplace
Go to the Game Marketplace, where you’ll find a variety of game servers, including Minecraft Vanilla.
Step 4: Select and Install Minecraft Vanilla Server
Once you’ve found the Minecraft Vanilla server, click Install Now. Follow the on-screen prompts to customize your server settings, including subscription duration, server location, and more.
Step 5: Launch and Pay
Click Launch App once you’re ready. Complete the payment process, and your server will begin deploying.
Step 6: Deployment Status
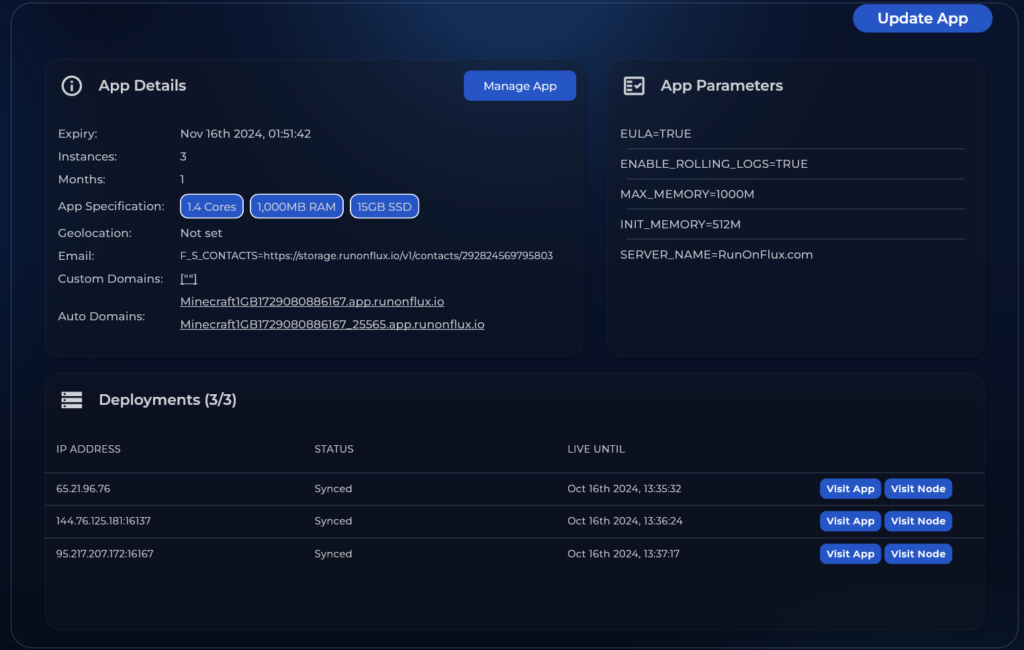
Wait a few minutes for your app to deploy. You can track the progress in the My Apps page under Recent Deployments here.
Note: If you signed in with Zelcore, you may need to sign a message to proceed.
Setting Up Minecraft Vanilla
While your server is deploying, you’ll need to download and install Minecraft Vanilla.
- Download Minecraft Vanilla from the official site: Download Here.
- Read and accept the terms and conditions, then click Let’s Go!.
- Log in and launch Minecraft Java Edition.
Connecting to Your FluxCloud Minecraft Server

- In Minecraft, go to Multiplayer.
- Click Add Server.
- Copy the generated domain from your FluxCloud app page and paste it into the server address field.
- Click Done and start playing!
That’s it! You’ve successfully hosted a Minecraft Vanilla server on FluxCloud. Gather your friends and enjoy the game!
